Using chntpw to reset Windows accounts
I recently had to reset the password on some old Netbooks which had been unused for a few years. In the end I used chntpw and a Ubuntu live USB to unlock the Administrator account. This post is quickly going to go over how to do this.
Note: this will only work if full disk encryption like BitLocker is not being used.
Booting into Ubuntu
The first thing to do is create a live USB, this can be done with tools like Rufus, or command line tools like dd. If you're not familiar with the process there is a step by step guide on tutorials.ubuntu.com. Once you've created a live USB and booted from it you should get a menu similar to the following:

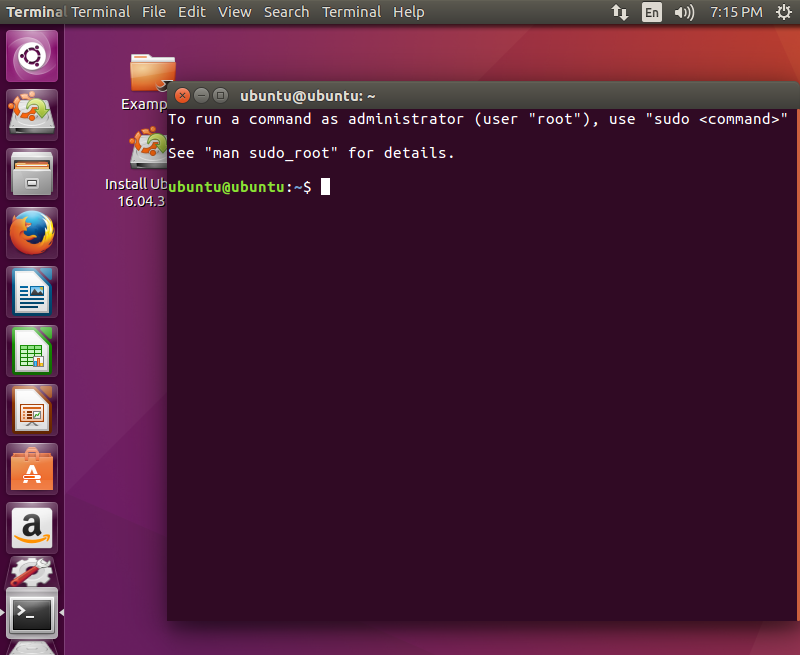
From here you should be able to select the Try Ubuntu without installing
option and boot into a desktop environment:
Booting in text only mode
Unfortunately the Netbook I was working with was struggling to boot the full graphical environment. To get around this I did the following:
- Press F6 and enabled
Expert mode. - Remove
quietandsplashfrom the boot options, this isn't strictly require but makes it easier to see what's going on if something goes wrong. - Add
systemd.unit=multi-user.targetto the end of the boot options. - Press Enter to boot the system.
- Finally log in as the
ubuntuuser, the default password should be blank.
Using chntpw
Once you have a bash prompt, chntpw can be installed with the following
commands:
sudo apt-get update
sudo apt-get install chntpw
Next you will want to mount the main Windows file system. This can be done with a command similar to the following:
sudo mount /dev/sda2 /mnt/
Note: make sure you mount the correct partition. sudo fdisk -l can be used
to check the partition table on available disks.
After the file system is mounted, switch to the Windows/System32/config
directory, if the directory isn't there, make sure you mounted the correct
partition:
cd /mnt/Windows/System32/config/
You can now run the following command to start up chntpw:
sudo chntpw SAM
If everything goes well you should see a menu similar to the following:
lubuntu@lubuntu:/mnt/Windows/System32/config$ sudo chntpw SAM
chntpw version 1.00 140201, (c) Petter N Hagen
Hive <SAM> name (from header): <\SystemRoot\System32\Config\SAM>
ROOT KEY at offset: 0x001020 * Subkey indexing type is: 666c <lf>
File size 262144 [40000] bytes, containing 5 pages (+ 1 headerpage)
Used for data: 247/19480 blocks/bytes, unused: 7/840 blocks/bytes.

================= USER EDIT ====================

RID     : 0500 [01f4]
Username: Administrator
fullname:
comment : Built-in account for administering the computer/domain
homedir :

00000220 = Administrators (which has 2 members)

Account bits: 0x0211 =
[X] Disabled        | [ ] Homedir req.    | [ ] Passwd not req. |
[ ] Temp. duplicate | [X] Normal account  | [ ] NMS account     |
[ ] Domain trust ac | [ ] Wks trust act.  | [ ] Srv trust act   |
[X] Pwd don't expir | [ ] Auto lockout    | [ ] (unknown 0x08)  |
[ ] (unknown 0x10)  | [ ] (unknown 0x20)  | [ ] (unknown 0x40)  |

Failed login count: 0, while max tries is: 0
Total  login count: 6

- - - - User Edit Menu:
 1 - Clear (blank) user password
 2 - Unlock and enable user account [probably locked now]
 3 - Promote user (make user an administrator)
 4 - Add user to a group
 5 - Remove user from a group
 q - Quit editing user, back to user select
Select: [q] >
To enable the Administrator account, use the first option to clear the
password and the second option to unlock and enable the account:
Select: [q] > 1
Password cleared!
...
Select: [q] > 2
Unlocked!
Finally quit using the q option, make sure you save the changes to the hive
files:
Select: [q] > q

Hives that have changed:
 #  Name
 0  <SAM>
Write hive files? (y/n) [n] : y
 0  <SAM> - OK
Booting back into Windows
You should now be able to restart the system. Once it's booted you should be
able to login using the Administrator account:
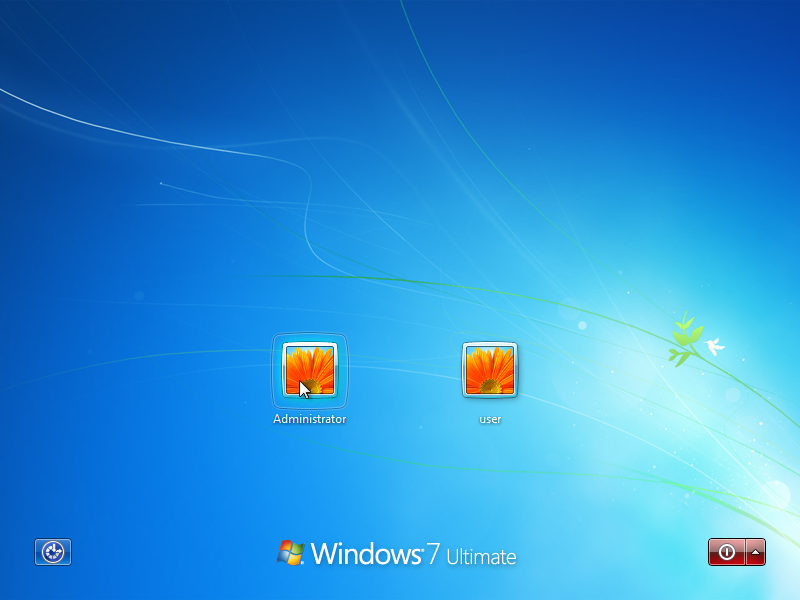
Note: once you're in, make sure you update the Administrator account password to something that isn't blank!