Automating VirtualBox screenshots with the CLI
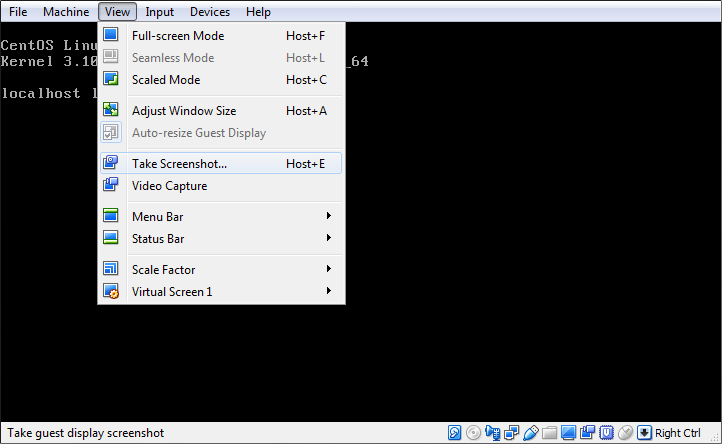
VirtualBox makes it really easy to capture VM screenshots. To do this you can just select "Take Screenshot..." from the "Input" menu:
VirtualBox also has both a command line interface (CLI) and several APIs which can be used to interact with running VMs. This post is quickly going to go over capturing screenshots using the CLI.
The VirtualBox CLI
The VirtualBox CLI is called using the VBoxManage command.
On most Linux distributions this should already be in your path if you have
VirtualBox installed. On windows you may need to add the VirtualBox
installation directory to your path, by default this should be
c:\Program Files\Oracle\VirtualBox\. To verify everything is working
correctly you should be able to run VBoxManage --version:
$ VBoxManage --version
5.2.12r122591
Finding VMs
Assuming VBoxManage is working correctly you will need to work out the name
of the VM you want to take a screenshot of. To do this you can use the list
command:
$ VBoxManage list runningvms
"example" {8531ca29-8e38-4ebc-8c26-c7385ae6f91d}
"foobar" {097c4801-3d59-438f-bb3c-e3a3ada96d87}
This will list a name and UUID for each VM which is currently running.
Creating a screenshot
Once you know the UUID or name of the virtual machine, you can take a
screenshot using the controlvm command.
$ VBoxManage controlvm 'example' screenshotpng example_screenshot.png
Note: 'example' could be replace with the UUID
({8531ca29-8e38-4ebc-8c26-c7385ae6f91d}) in the command above.
If everything is working correctly you should now have a PNG screenshot:
$ file example_screenshot.png
example_screenshot.png: PNG image data, 720 x 400, 8-bit/color RGB, non-interlaced